// 簡報
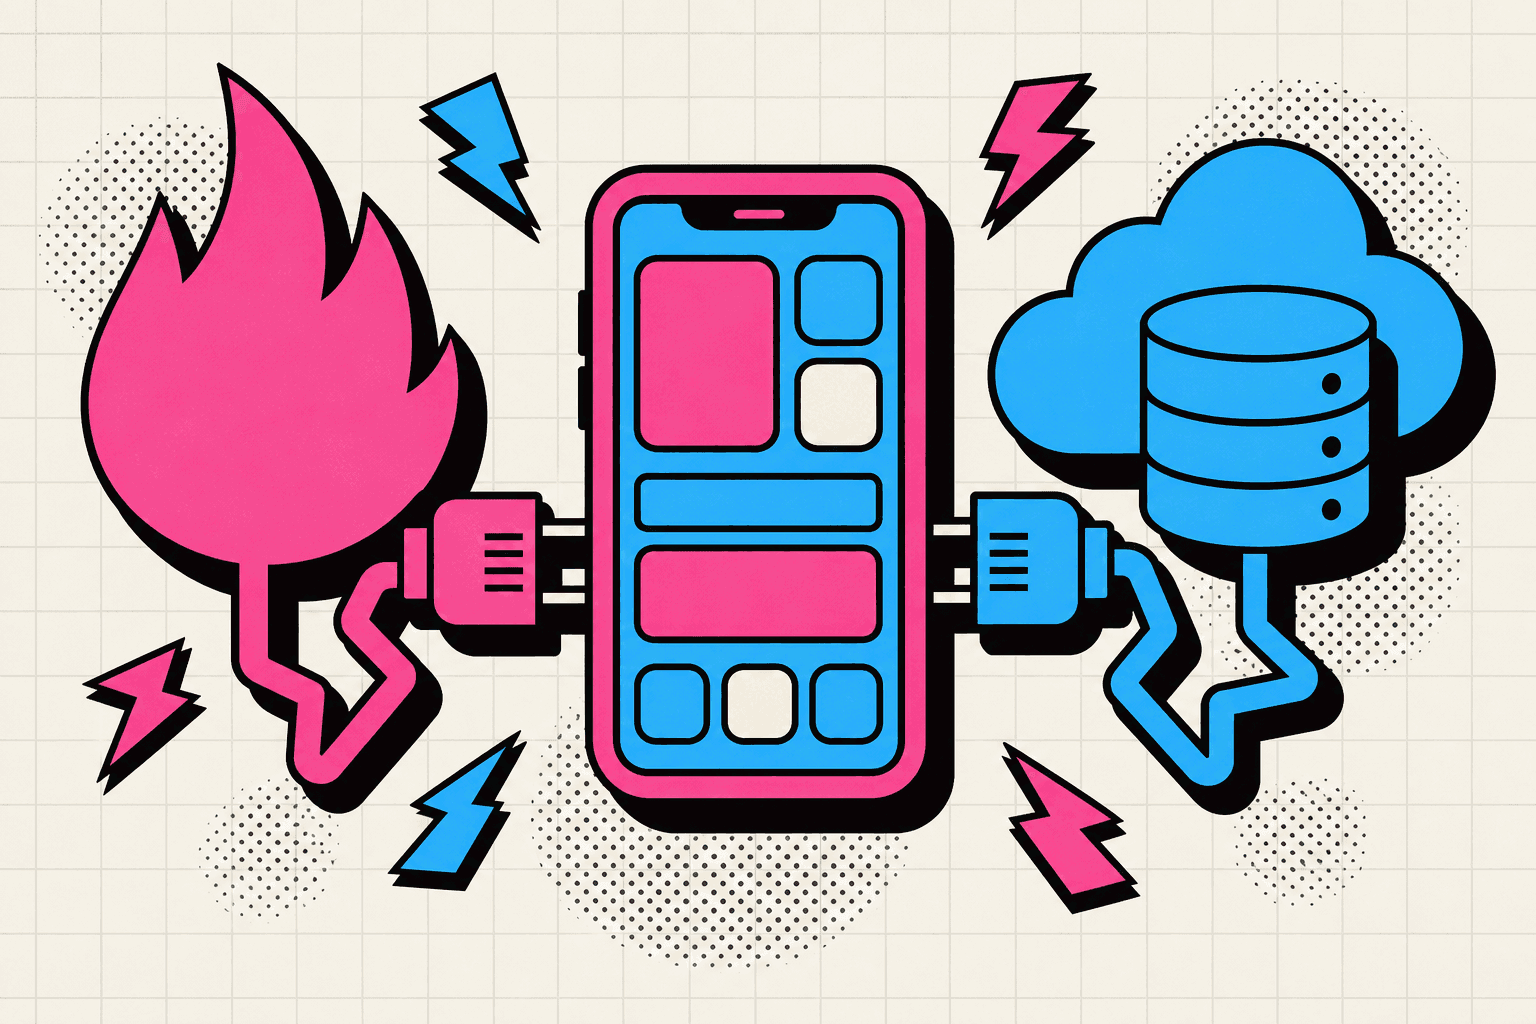
Firebase 是 Google 提供的全方位後端即服務(BaaS)平台,讓你無需自行構建及維護伺服器基礎設施。憑藉 Flutter 出色的 Firebase 整合能力,你可以在幾分鐘內為應用程式加入強大的後端功能,而不是花上幾個月。
本指南會帶你設定每個現代應用程式都需要的 Firebase 服務:用戶身份驗證、實時數據庫、檔案儲存及推送通知。完成之後,你的 Flutter 應用程式便會擁有一個功能完備的後端。
// 目錄
步驟 1:Firebase 專案設定
首先,我們要建立一個 Firebase 專案並為 Flutter 進行配置。這包括在 Firebase Console 建立專案,以及安裝所需的依賴套件。
Firebase Console 設定:
- 1. 前往 console.firebase.google.com
- 2. 按「建立專案」(Create a project)
- 3. 輸入專案名稱
- 4. 啟用 Google Analytics(建議啟用)
- 5. 按「建立專案」完成建立
terminal
# Add the Firebase packages you need — pub resolves
# the latest compatible versions automatically:
flutter pub add firebase_core firebase_auth \
  cloud_firestore firebase_storage firebase_messaging

# pubspec.yaml is updated for you; dependencies are
# fetched as part of the command (no manual pub get).
步驟 2:Firebase 身份驗證
Firebase Auth 提供多種即用的身份驗證方式,包括電郵/密碼、Google 登入、Apple 登入等。下面我們來實作電郵/密碼驗證。
auth_service.dart
import 'package:firebase_auth/firebase_auth.dart';

class AuthService {
  final FirebaseAuth _auth = FirebaseAuth.instance;

  // Get current user
  User? get currentUser => _auth.currentUser;

  // Auth state changes stream
  Stream<User?> get authStateChanges => _auth.authStateChanges();

  // Sign up with email and password
  Future<UserCredential?> signUpWithEmail(String email, String password) async {
    try {
      return await _auth.createUserWithEmailAndPassword(
        email: email,
        password: password,
      );
    } on FirebaseAuthException catch (e) {
      print('Sign up error: ${e.message}');
      return null;
    }
  }

  // Sign in with email and password
  Future<UserCredential?> signInWithEmail(String email, String password) async {
    try {
      return await _auth.signInWithEmailAndPassword(
        email: email,
        password: password,
      );
    } on FirebaseAuthException catch (e) {
      print('Sign in error: ${e.message}');
      return null;
    }
  }

  // Sign out
  Future<void> signOut() async {
    await _auth.signOut();
  }
}
實用貼士:
- 在 Firebase Console 啟用電郵/密碼驗證
- 使用 StreamBuilder 監聽驗證狀態變化
- 為所有驗證方法實作妥善的錯誤處理
- 考慮加入電郵驗證以提升安全性
步驟 3:Cloud Firestore 數據庫
Firestore 是一個 NoSQL 文件數據庫,可以將數據實時同步至所有連接的裝置。非常適合聊天應用程式、協作工具,以及任何需要即時更新的應用程式。
firestore_service.dart
import 'package:cloud_firestore/cloud_firestore.dart';

class FirestoreService {
  final FirebaseFirestore _db = FirebaseFirestore.instance;

  // Create/Update document
  Future<void> createUser(String uid, Map<String, dynamic> userData) async {
    await _db.collection('users').doc(uid).set(userData);
  }

  // Read document
  Future<DocumentSnapshot> getUser(String uid) async {
    return await _db.collection('users').doc(uid).get();
  }

  // Read collection with real-time updates
  Stream<QuerySnapshot> getMessagesStream(String chatId) {
    return _db
        .collection('chats')
        .doc(chatId)
        .collection('messages')
        .orderBy('timestamp', descending: true)
        .snapshots();
  }

  // Add document to collection
  Future<DocumentReference> addMessage(String chatId, Map<String, dynamic> message) async {
    return await _db
        .collection('chats')
        .doc(chatId)
        .collection('messages')
        .add(message);
  }

  // Update document
  Future<void> updateUserProfile(String uid, Map<String, dynamic> updates) async {
    await _db.collection('users').doc(uid).update(updates);
  }

  // Delete document
  Future<void> deleteMessage(String chatId, String messageId) async {
    await _db
        .collection('chats')
        .doc(chatId)
        .collection('messages')
        .doc(messageId)
        .delete();
  }
}
Firestore 最佳實踐:
- 數據結構盡量保持扁平
- 以子集合(subcollection)處理一對多關係
- 為經常查詢的欄位建立索引
- 多項操作請使用批量寫入
步驟 4:Firebase Cloud Storage
Firebase Storage 負責處理檔案的上載、下載及管理。非常適合儲存用戶頭像、聊天圖片、文件,以及應用程式需要儲存的任何其他檔案。
storage_service.dart
import 'package:firebase_storage/firebase_storage.dart';
import 'dart:io';

class StorageService {
  final FirebaseStorage _storage = FirebaseStorage.instance;

  // Upload file and get download URL
  Future<String?> uploadFile(File file, String path) async {
    try {
      final ref = _storage.ref().child(path);
      final uploadTask = ref.putFile(file);

      final snapshot = await uploadTask;
      final downloadURL = await snapshot.ref.getDownloadURL();

      return downloadURL;
    } catch (e) {
      print('Upload error: $e');
      return null;
    }
  }

  // Upload profile picture
  Future<String?> uploadProfilePicture(File image, String userId) async {
    final path = 'profile_pictures/$userId.jpg';
    return await uploadFile(image, path);
  }

  // Upload chat image
  Future<String?> uploadChatImage(File image, String chatId) async {
    final timestamp = DateTime.now().millisecondsSinceEpoch;
    final path = 'chat_images/$chatId/$timestamp.jpg';
    return await uploadFile(image, path);
  }

  // Delete file
  Future<void> deleteFile(String path) async {
    try {
      await _storage.ref().child(path).delete();
    } catch (e) {
      print('Delete error: $e');
    }
  }

  // Get download URL for existing file
  Future<String?> getDownloadURL(String path) async {
    try {
      return await _storage.ref().child(path).getDownloadURL();
    } catch (e) {
      print('Get URL error: $e');
      return null;
    }
  }
}
儲存貼士:
- 上載前先壓縮圖片以節省頻寬
- 使用具描述性的檔案路徑,方便管理
- 設定安全規則以保護用戶檔案
- 可考慮使用 Cloud Functions 處理圖片
步驟 5:推送通知
Firebase Cloud Messaging(FCM)讓你可以向用戶發送推送通知。無論是提升用戶參與度、聊天通知,還是向用戶傳遞最新資訊,都不可或缺。
messaging_service.dart
import 'package:firebase_messaging/firebase_messaging.dart';

class MessagingService {
  final FirebaseMessaging _messaging = FirebaseMessaging.instance;

  // Initialize messaging
  Future<void> initialize() async {
    // Request permission
    NotificationSettings settings = await _messaging.requestPermission(
      alert: true,
      badge: true,
      sound: true,
    );

    if (settings.authorizationStatus == AuthorizationStatus.authorized) {
      print('User granted permission');
    }

    // Get FCM token
    String? token = await _messaging.getToken();
    print('FCM Token: $token');

    // Save token to Firestore for this user
    // await FirestoreService().updateUserToken(token);
  }

  // Handle foreground messages
  void handleForegroundMessages() {
    FirebaseMessaging.onMessage.listen((RemoteMessage message) {
      print('Received message: ${message.notification?.title}');

      // Show local notification or update UI
      _showLocalNotification(message);
    });
  }

  // Handle background message taps
  void handleBackgroundMessages() {
    FirebaseMessaging.onMessageOpenedApp.listen((RemoteMessage message) {
      print('Message clicked: ${message.data}');

      // Navigate to specific screen based on message data
      _handleMessageNavigation(message.data);
    });
  }

  // Subscribe to topic
  Future<void> subscribeToTopic(String topic) async {
    await _messaging.subscribeToTopic(topic);
  }

  // Unsubscribe from topic
  Future<void> unsubscribeFromTopic(String topic) async {
    await _messaging.unsubscribeFromTopic(topic);
  }

  void _showLocalNotification(RemoteMessage message) {
    // Implement local notification display
  }

  void _handleMessageNavigation(Map<String, dynamic> data) {
    // Implement navigation logic based on message data
  }
}
通知最佳實踐:
- 發送通知前務必先取得用戶許可
- 使用主題(topic)向特定用戶群組廣播
- 附上相關數據以支援深層連結(deep linking)
- 在 iOS 及 Android 上都測試通知
把所有功能整合起來
完整的 Firebase 整合:
main.dart
// main.dart
import 'package:firebase_core/firebase_core.dart';

void main() async {
  WidgetsFlutterBinding.ensureInitialized();
  await Firebase.initializeApp();
  runApp(MyApp());
}

class MyApp extends StatelessWidget {
  @override
  Widget build(BuildContext context) {
    return MaterialApp(
      home: StreamBuilder<User?>(
        stream: FirebaseAuth.instance.authStateChanges(),
        builder: (context, snapshot) {
          if (snapshot.hasData) {
            return HomeScreen();
          } else {
            return LoginScreen();
          }
        },
      ),
    );
  }
}
你已建立的功能
- 用戶身份驗證系統
- 實時數據庫整合
- 檔案上載/下載功能
- 推送通知系統
- 可擴展的後端基礎設施
下一步
- 設定 Firebase 安全規則
- 加入 Firebase Analytics
- 實作 Cloud Functions
- 加入崩潰報告
- 為生產環境作優化